今回参考にしたのは、YouTubeの
いつもお世話になっている苔テラリウム専門-道草ちゃんねる‐さんの
The reference for this one is the YouTube channel 苔テラリウム専門-道草ちゃんねる‐ — always grateful for the inspiration!
「溶岩石にホウオウゴケを着生させる」という動画です。
A video about attaching Houougoke moss to lava rock.
動画内で、着生して芽吹いたホウオウゴケがもう反則級に美しくてですね…。
In the video, the Houougoke that had attached and sprouted was just unfairly beautiful…
「うわ、これ森そのものやん…」
となったので、さっそく真似してチャレンジしてみます(笑)
今回は「撒きゴケ法」ではなく、
ホウオウゴケを直接巻き付ける「巻きつけ法」で挑戦です。
My reaction was “Whoa, this literally looks like a real forest…” — so I immediately decided to try it myself. (lol) This time, instead of the scattering method (makigoke), I’m going with the wrapping method (makitsuke), attaching Houougoke directly.
今回使うホウオウゴケと溶岩石の紹介
Introducing Today’s Houougoke and Lava Rock
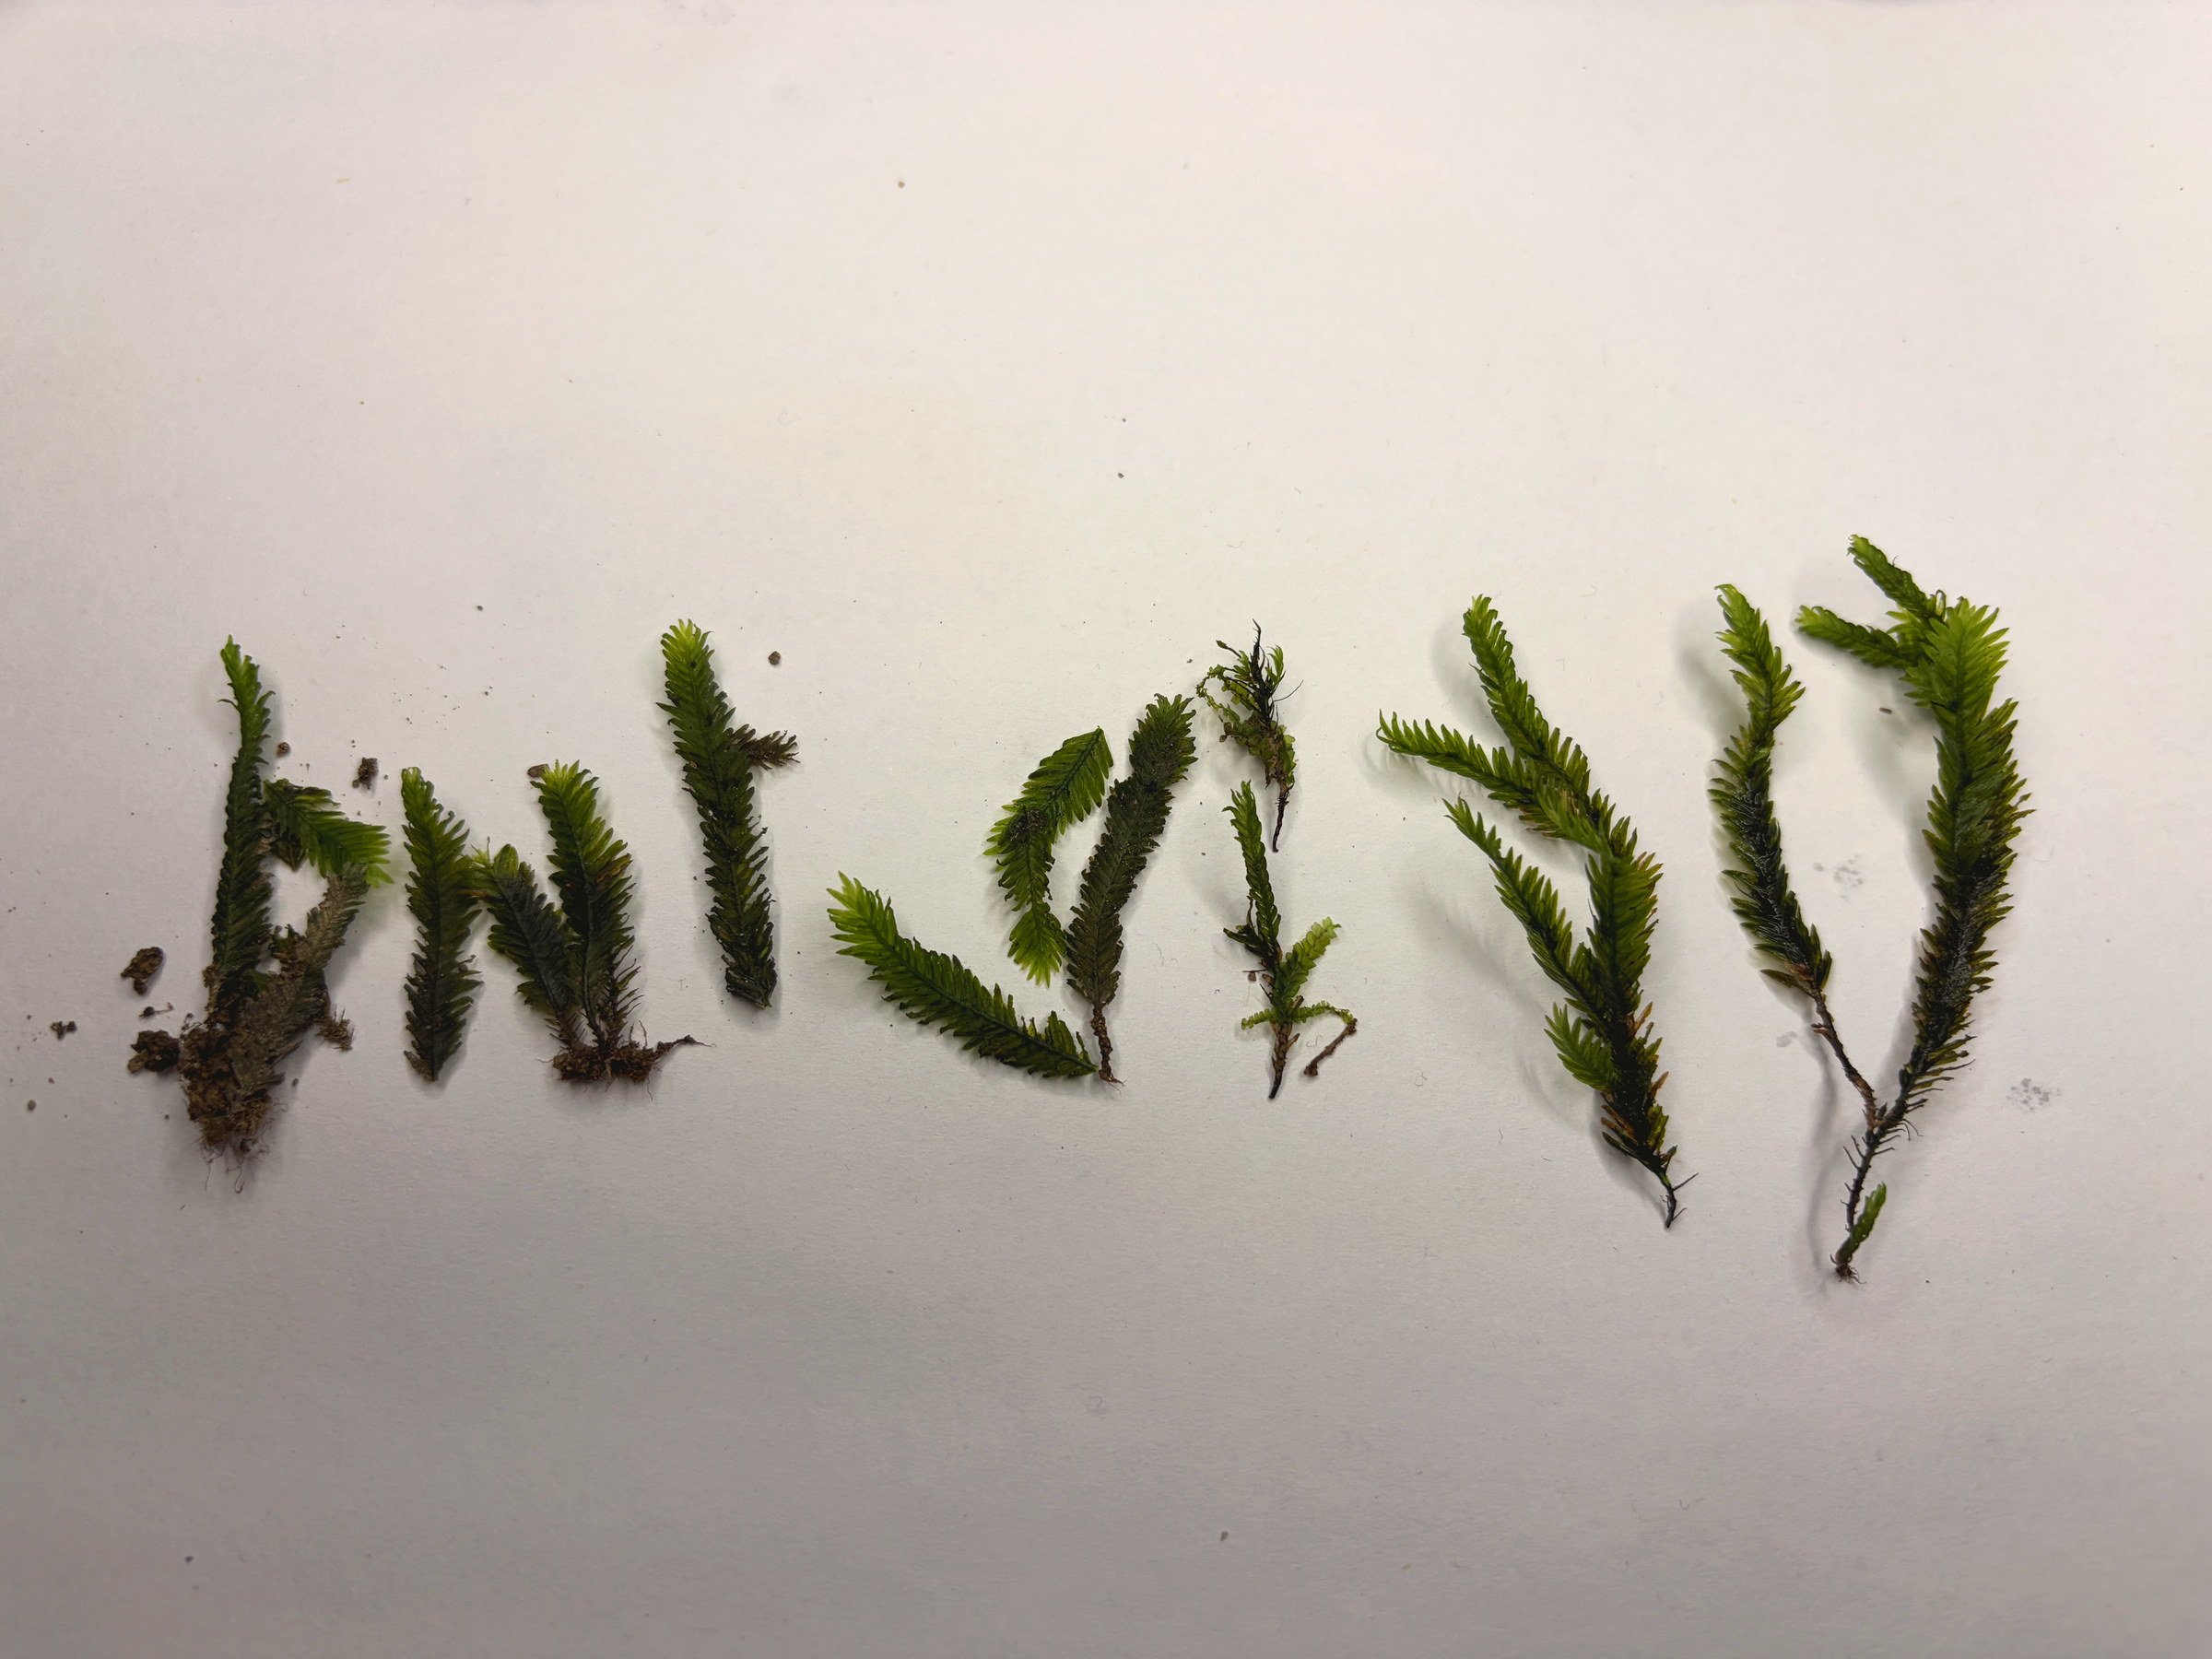
まず今回使うホウオウゴケがこちら。
First, here’s the Houougoke I’m using this time.
何ホウオウゴケなのか?
…まぁそこは置いときましょう(笑)
カキクケ苔では、
「名前よりまず育ててみる精神」でやっております。
Which specific type of Houougoke is it? …Let’s leave that aside for now. (lol) Here at カキクケ苔, we operate on the principle of “try growing it first, figure out the name later.”
でもこのギザギザした葉、
めちゃくちゃカッコいいですよね。
名前の通り鳳凰の尾翼です。
But these serrated leaves are incredibly cool, aren’t they? Just like the name suggests — the tail wings of a phoenix.
そして今回の土台になる溶岩石。
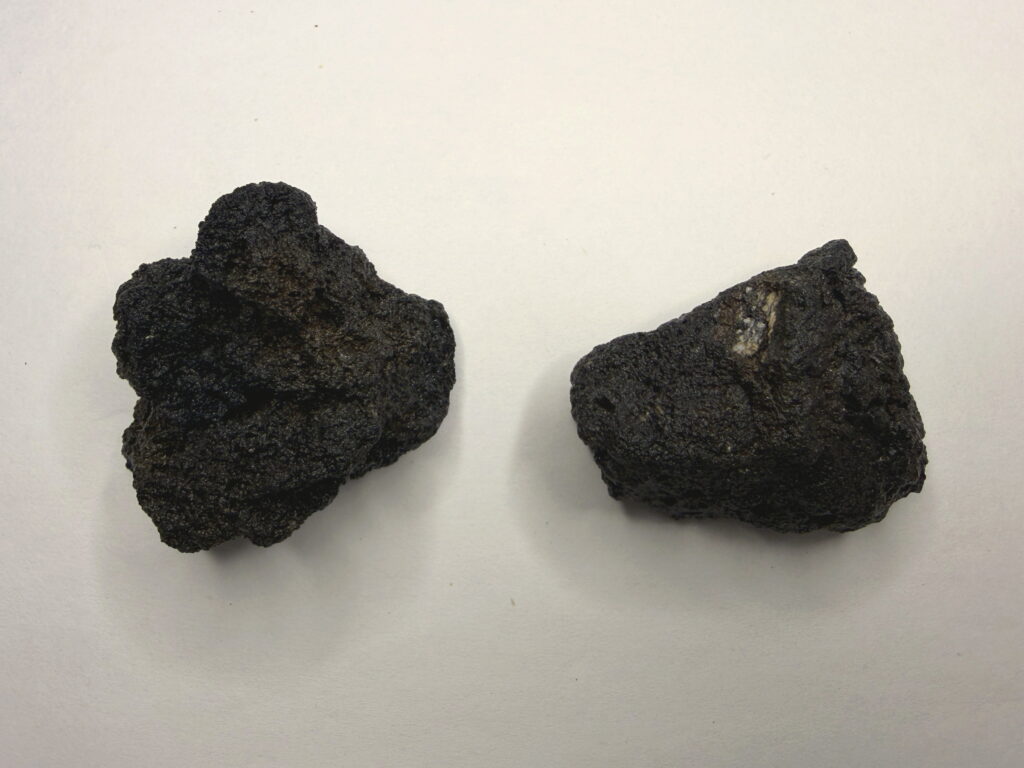
And here’s the lava rock that will serve as the base.
事前にしっかり吸水させてあります。
溶岩石って見た目がゴツゴツしてるだけじゃなく、
細かい穴がたくさん空いているので、水分を保持しやすいんですよね。
I soaked it thoroughly beforehand. Lava rock isn’t just rough on the surface — it’s full of tiny holes, which makes it great at retaining moisture.
つまり苔にとっては、
「岩なのに意外と住みやすいマンション」みたいな感じです(笑)
For moss, it’s basically “a surprisingly livable apartment — despite being a rock.” (lol)
着生前の準備——洗浄・カット・成長点をあえて切る理由
Pre-Attachment Prep — Washing, Cutting, and Why You Intentionally Trim the Growing Tips
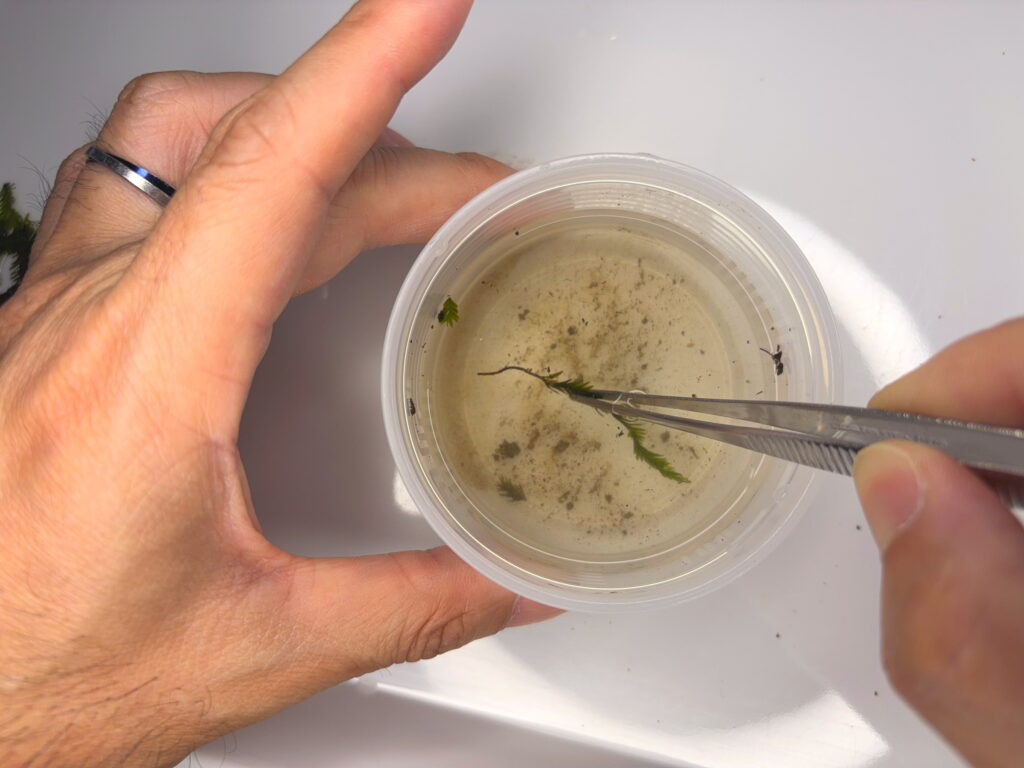
まずはホウオウゴケについている土や汚れを洗い流します。
First, I rinse off any soil or dirt clinging to the Houougoke.
この作業、
地味なんですがかなり大事。
ここで泥が残っていると、
あとからカビたり、蒸れたりする原因になることもあるみたいです。
苔界にも下準備の大切さがあります。
This step is unglamorous but really important. Leaving mud behind can lead to mold or excess moisture buildup later. Proper prep matters in the moss world too.
料理と同じですね。
たぶん。
Just like cooking, right? Probably.
続いて、
溶岩石のサイズに合わせてホウオウゴケをカットしていきます。
Next, I cut the Houougoke to fit the size of the lava rock.
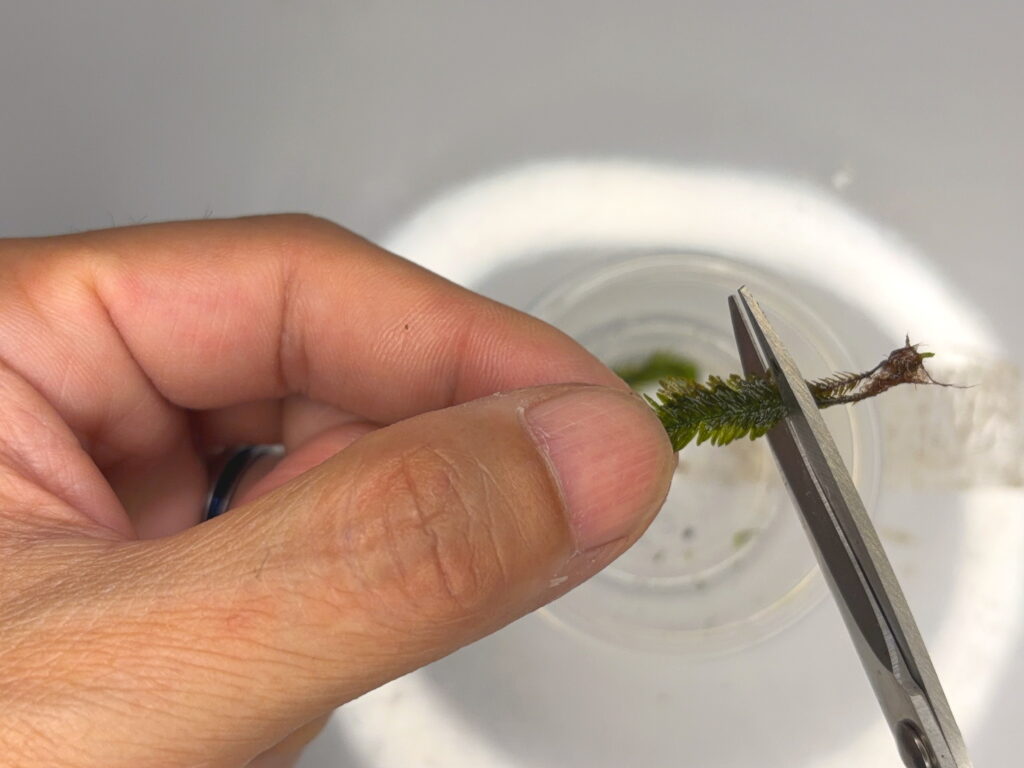
長すぎると巻き付けにくいので、
ほどよい長さに調整。
Too long and it becomes hard to wrap, so I trim it to a good length.
さらにここで、
葉先の成長点をカットします。
And at this step, I also cut the growing tips at the ends of the leaves.
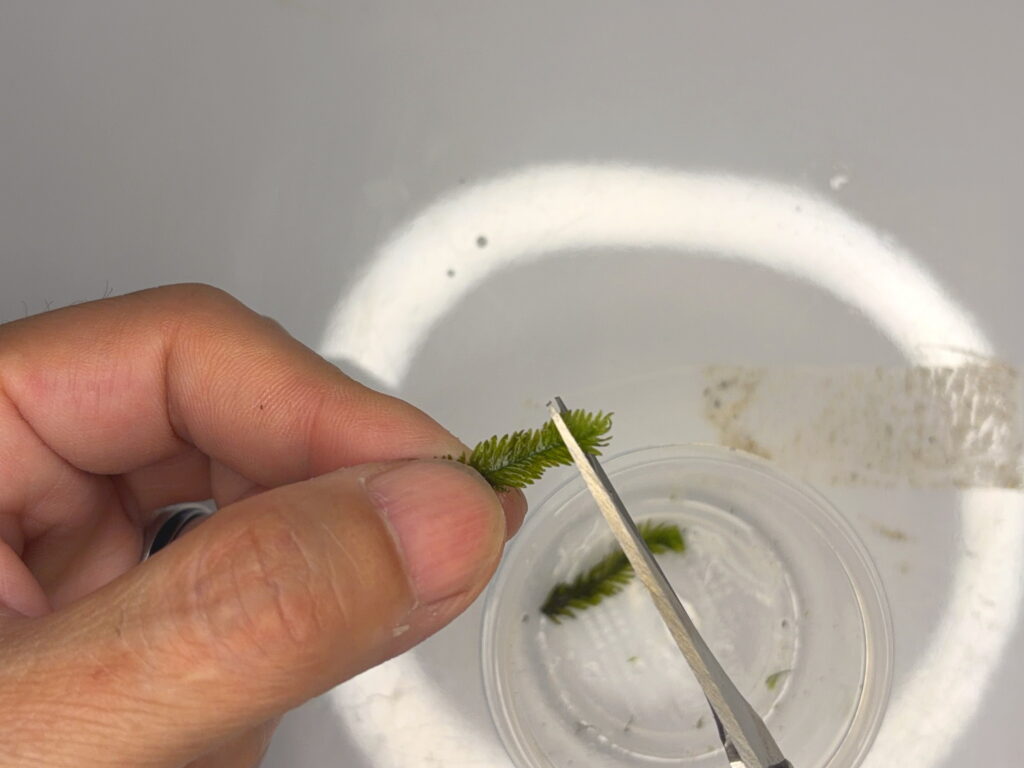
これ、最初は
「え!?せっかく伸びてるところ切るん!?」ってなったんですが、
どうやら成長点を止めることで、
茎の途中から新芽が出やすくなるらしいです。
At first my reaction was “Wait, why cut the parts that are actually growing!?” But it turns out that stopping the growing tip encourages new shoots to sprout from the middle of the stem.
つまり…
“先端エリートを切って、地方から新人を大量採用する作戦”です(笑)
In other words… “Cut the elite tip and mass-recruit newcomers from the regions.” (lol)
いよいよ溶岩石へ配置!小さな森を造園する感覚
Placement Begins! The Feeling of Landscaping a Tiny Forest
そして、
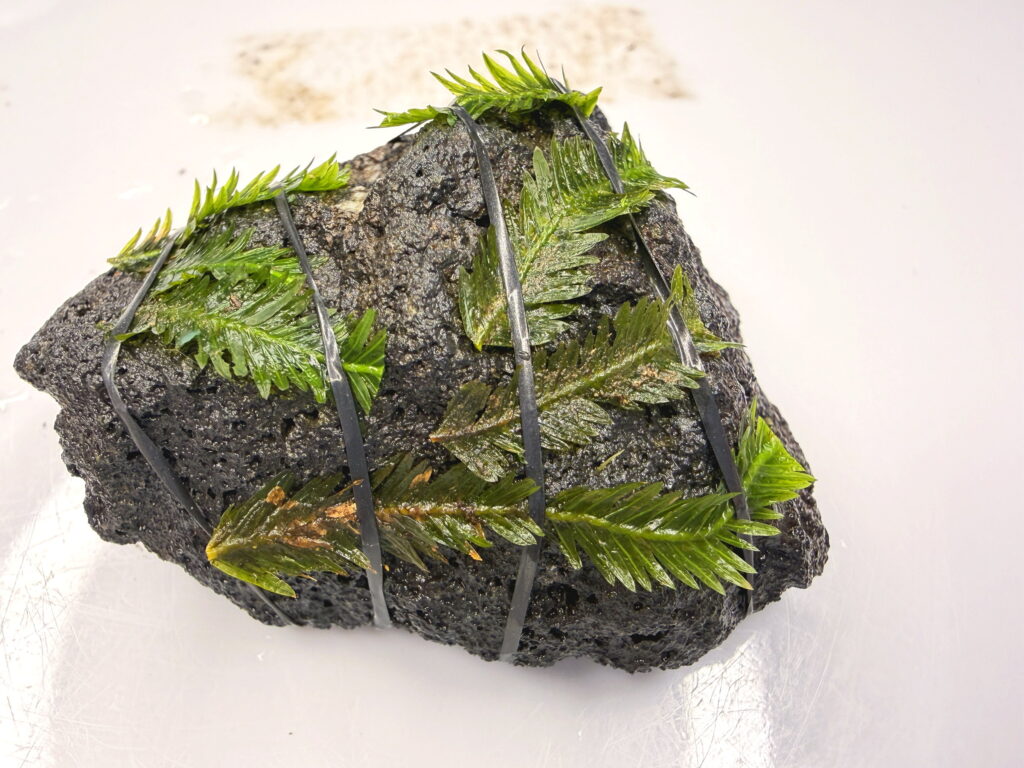
いよいよ溶岩石へ配置。
And now, it’s finally time to place it on the lava rock.
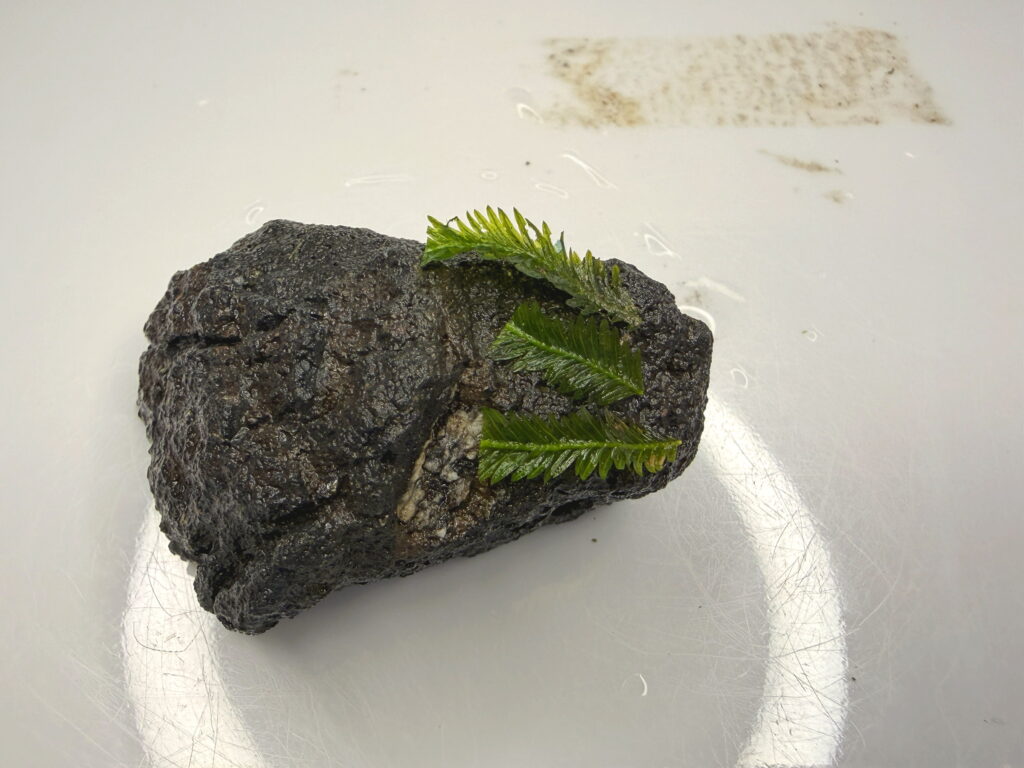
え?
巻きつけるのはホウオウゴケ?
それともゴム?
…細かいことは気にせず進めます(笑)
Wait — are we wrapping the Houougoke? Or the rubber band? …Let’s not overthink it and just keep going. (lol)
なるべく重ならないように、
バランスを見ながら並べていきます。
I arrange it carefully, trying not to overlap, while watching the overall balance.
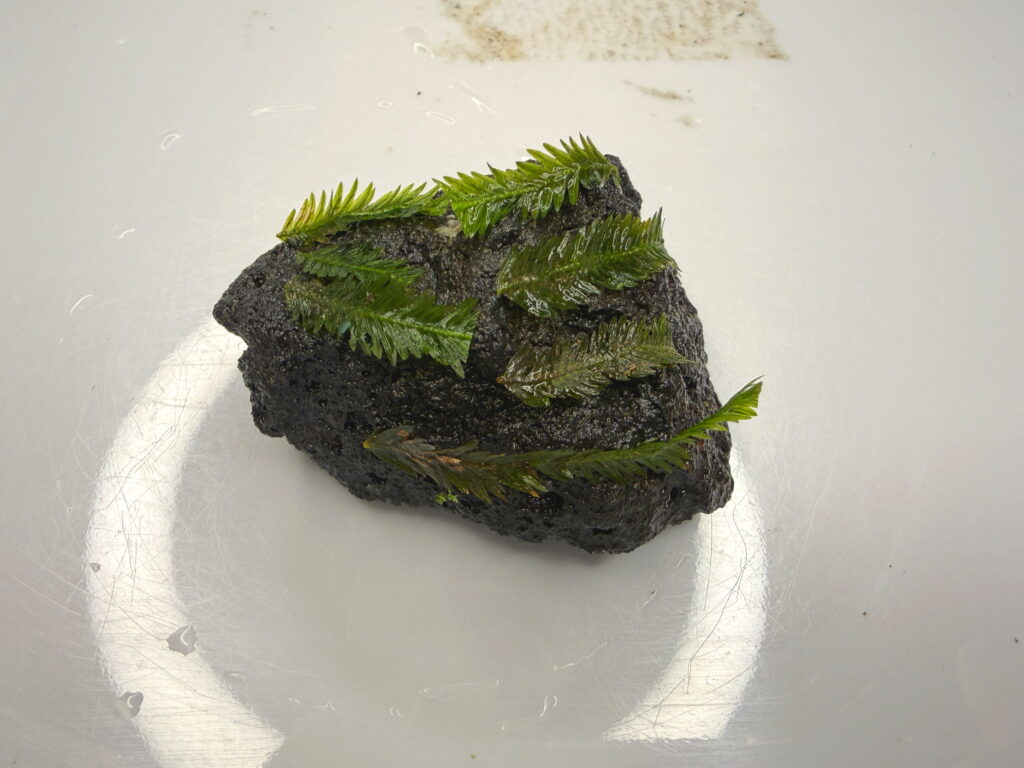
ここ、
めちゃくちゃ楽しい。
なんかもう、
小さい森を造園してる気分になります。
This part is incredibly fun. It genuinely feels like landscaping a tiny forest.
そしてゴムで固定!
Then secure it with rubber bands!
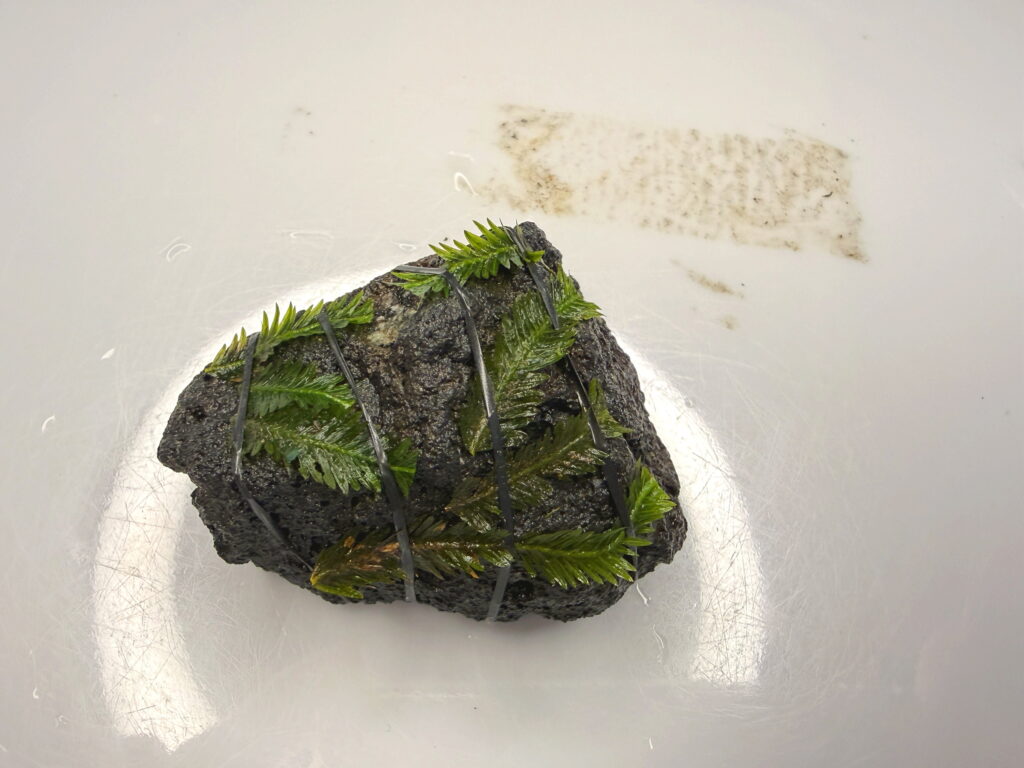
どうでしょう。
かなりいい感じじゃないですか?
黒い溶岩石に、
鮮やかな緑がめちゃくちゃ映えます。
How does it look? Pretty great, right? The vivid green stands out beautifully against the black lava rock.
この時点ですでに
「完成です」って言いたくなるくらい(笑)
At this point I already want to say “it’s finished!” (lol)
2個目の溶岩石もセット!”センスより好き”が正解
Setting Up the Second Rock! “I Just Like It” Always Beats Perfect
さらにもう一つの溶岩石にもホウオウゴケをセット。
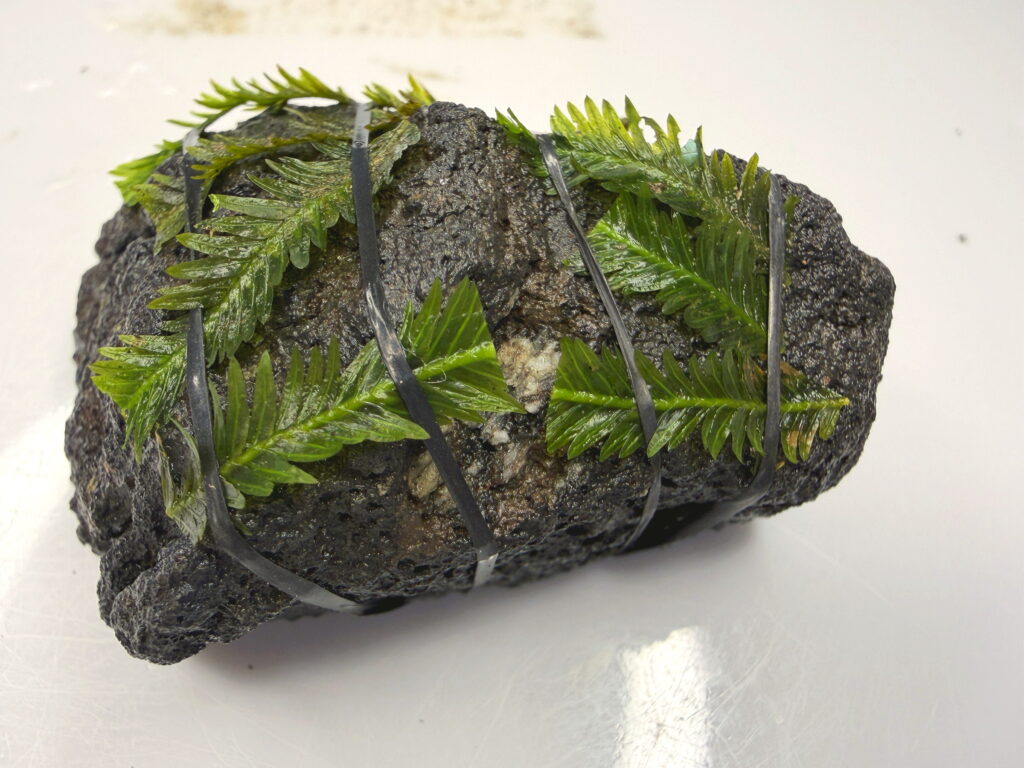
Then I set up Houougoke on a second lava rock too.
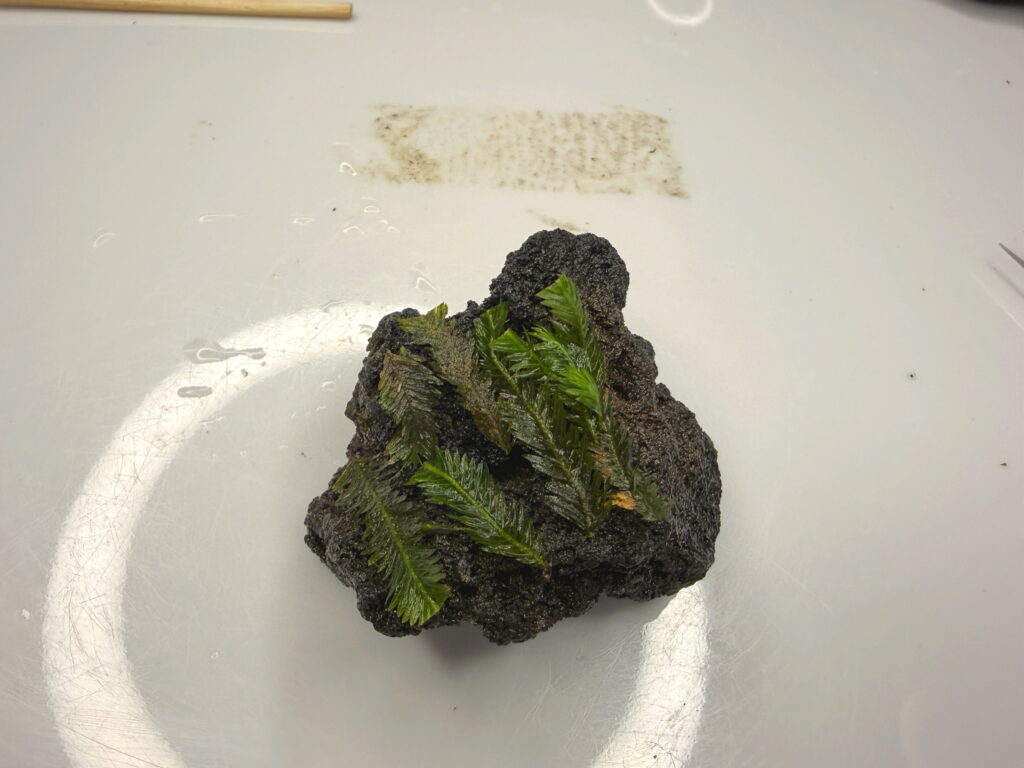
こちらも葉の流れを意識しながら配置。
Again, I arrange it while paying attention to the natural flow of the leaves.
こういうのって、
正解がないから面白いんですよね。
センスが問われるようで、でも最終的には
「なんか好き」が一番強い(笑)
The fun thing about this is there’s no right answer. It might seem like it tests your sense of design, but in the end, “I just like this” always wins. (lol)
そしてこちらも固定して…
Then secure this one too…
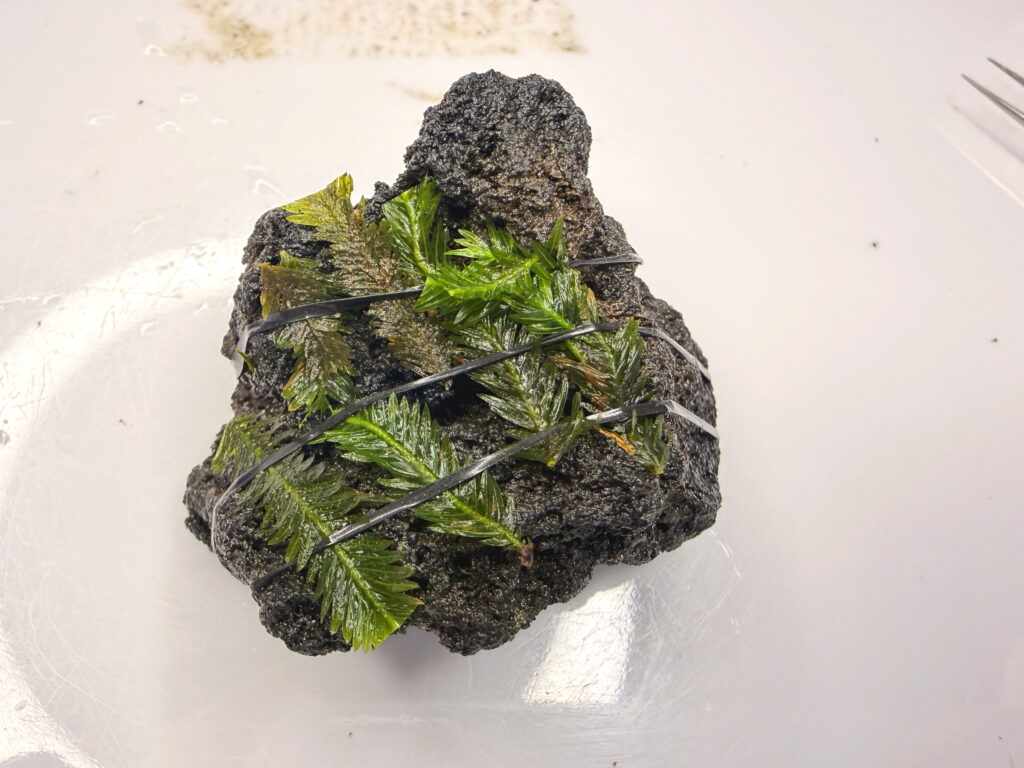
準備完了!
All set and ready!
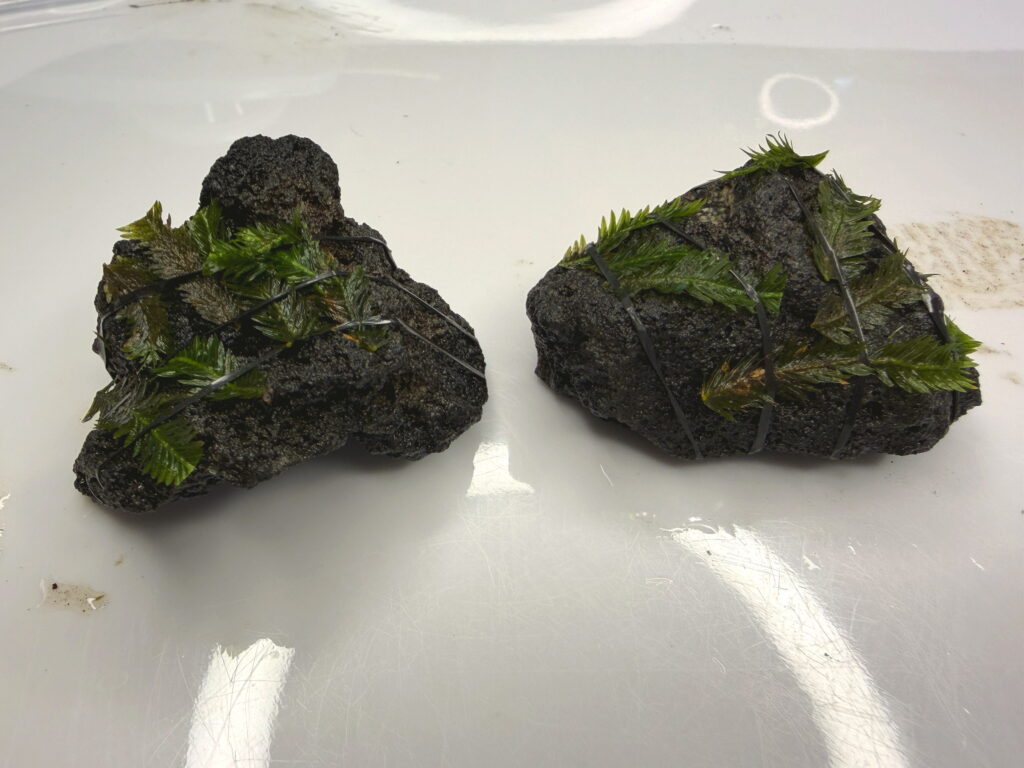
並べてみると、
ちょっとしたミニ盆景みたいでかなり雰囲気あります。
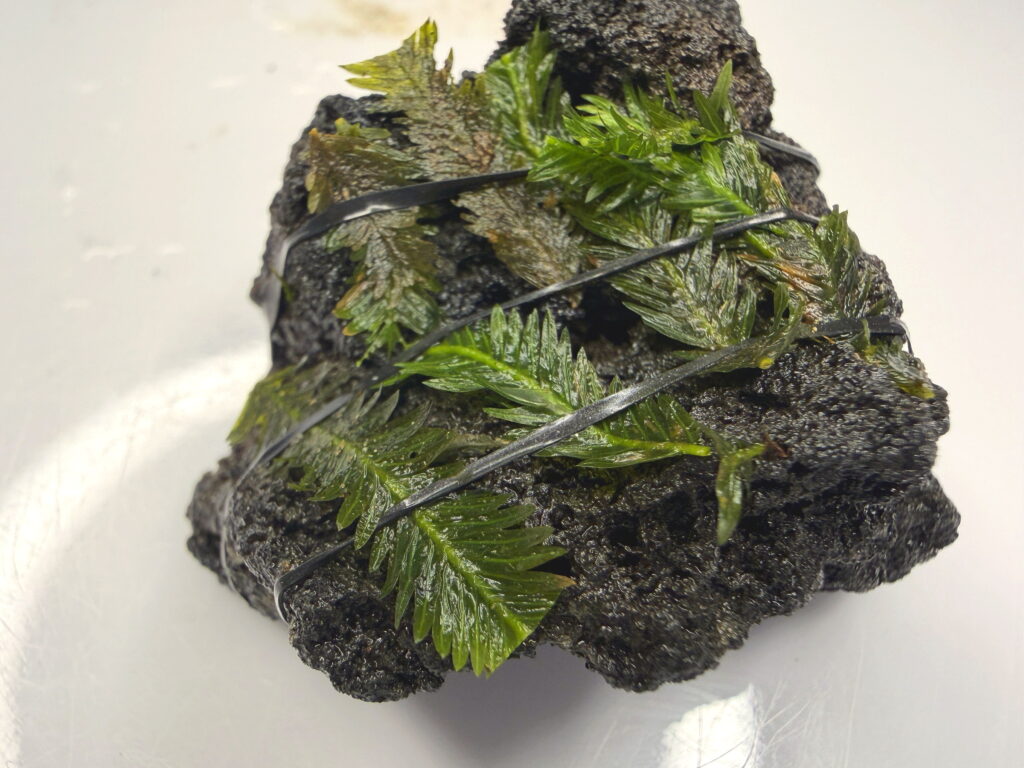
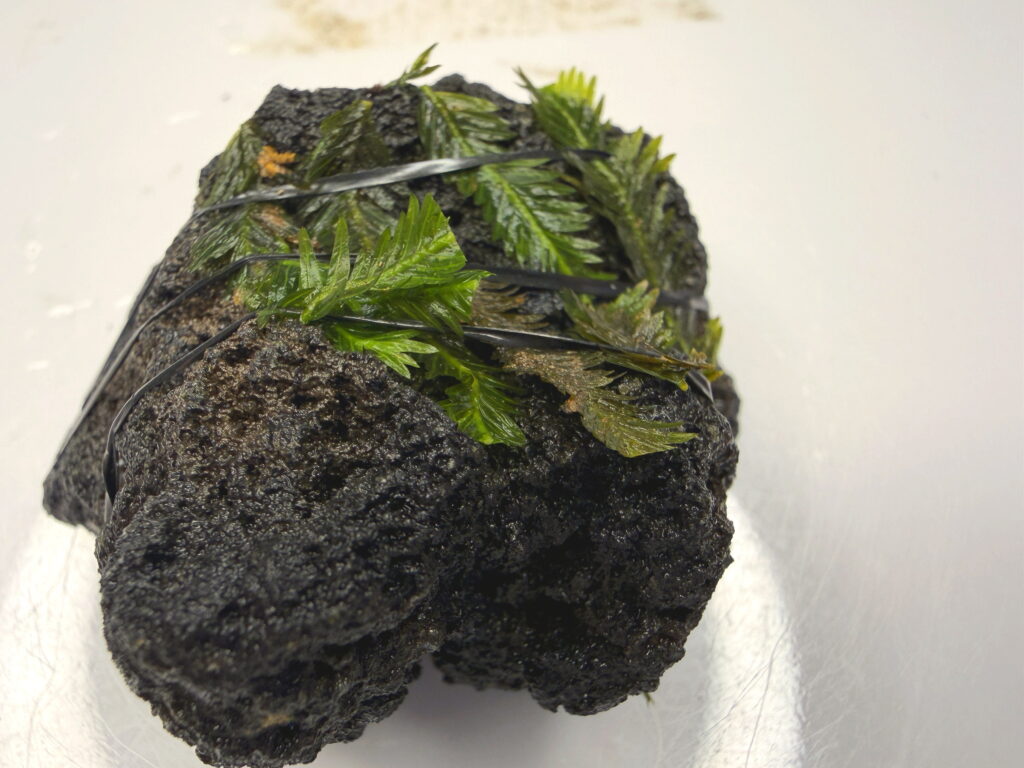
Setting them side by side, they look like little bonsai landscapes — really atmospheric.
あとは待つだけ——芽吹きまで2〜3か月の旅がはじまる
Now We Wait — A 2-3 Month Journey Toward the First Sprout Begins
ここから先は、
苔との”時間をかけた付き合い”になります。
動画内でも芽吹きが確認できたのは
2〜3か月後。
つまり、
今日明日で劇的変化する世界ではありません。
From here, it becomes a slow-paced relationship with moss over time. In the video, visible sprouting appeared after 2-3 months. In other words, this isn’t a world where dramatic changes happen overnight.
まとめ——苔は急がない。でも確実に、前へ進んでいる。
Wrap-Up — Moss Doesn’t Rush. But It’s Always Moving Forward.
でも逆に、
毎日ほんの少しずつ変化していく姿を楽しめるのが苔の魅力なんですよね。
But that’s precisely the appeal of moss — you get to enjoy the tiny, gradual changes happening a little bit every day.
急がない。
焦らない。
でも確実に前へ進んでいる。
なんか、人生みたいです(笑)
No rushing. No anxiety. But always moving forward, bit by bit. Somehow it feels like life itself. (lol)
ホウオウゴケの着生、
やってみると想像以上に楽しい作業でした。
「置くだけ」じゃなく、葉の向きや流れを考えたり、
芽吹きを想像しながら配置したり…。
これ、完全に”未来を育てる趣味”ですね。
Attaching Houougoke turned out to be way more enjoyable than I expected. It’s not just “put it there” — you think about leaf direction and flow, imagining what it’ll look like when it sprouts… This is truly a hobby about “growing the future.”
数か月後、
この黒い溶岩石が緑に包まれていたら…
ひとりでニヤニヤしてると思います(笑)
A few months from now, if this black lava rock is wrapped in green… I’ll probably just be grinning to myself. (lol)
苔はすぐ結果を出してくれません。
でも、ゆっくり育つからこそ、
小さな変化がめちゃくちゃ嬉しい。さて、
このホウオウゴケたちは無事に着生してくれるのか――。
続報をお楽しみに🌱
Moss doesn’t give you results right away. But because it grows so slowly, each tiny change feels incredibly rewarding. Now — will these Houougoke successfully attach? Stay tuned for updates. 🌱