今日は苔テラリウムの作成に挑戦していきますね。
参考にした動画はこちらです。
Today I’ll be taking on the challenge of making a moss terrarium! Here’s the reference video I used.
私の大好きな
苔テラリウム専門-道草ちゃんねる-
さんの動画を参考にして、苔テラリウムを作ってみました。
タイトルは「はじめての苔テラリウム 超初心者向け」。
このゆるいタイトルにやる気を注がれました(笑)
さっそく作っていきましょう。
I made this terrarium inspired by one of my favorite channels, “Diamichi Channel,” which specializes in moss terrariums. The video was titled “Your First Moss Terrarium — For Total Beginners,” and that easygoing title was all the motivation I needed (lol). Let’s get started!
まずは素材をそろえよう!100均からできる手軽さが魅力
Step 1: Gathering Materials — The Joy of Budget-Friendly Supplies
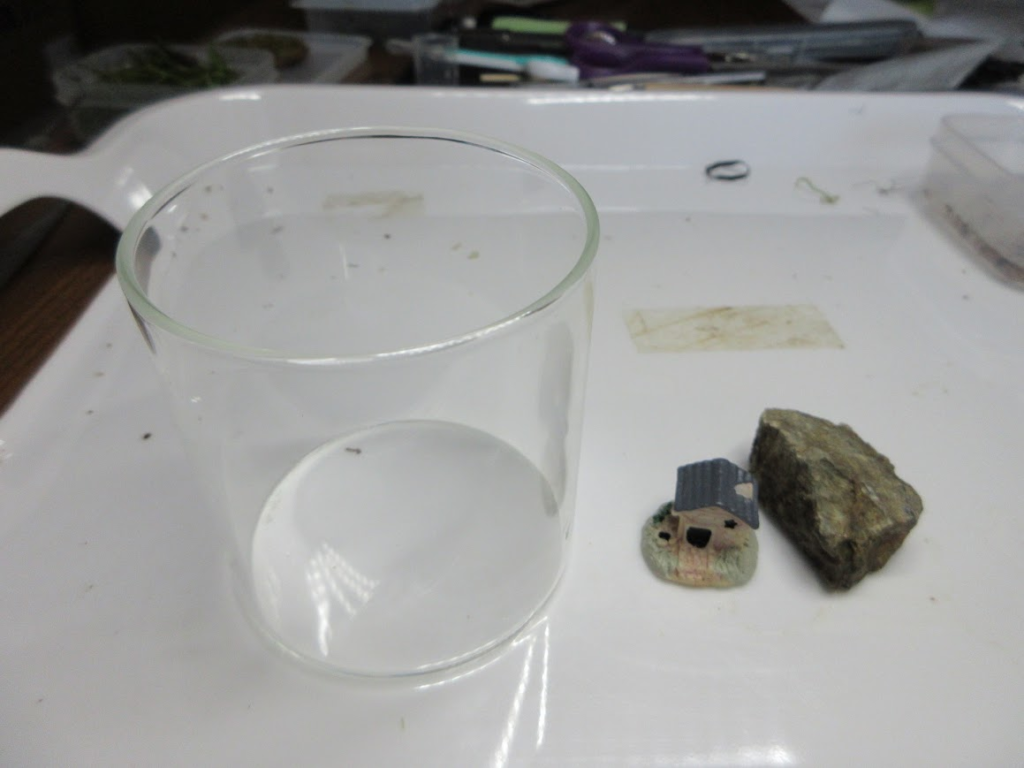
まずは素材です。
100円均一で買ってきた瓶の容器と、
楽天市場で購入したちっちゃい家のフィギュア。
それと、その辺に転がっていた石ころです。
First, the materials. A glass jar from the 100-yen shop, a tiny house figurine ordered from Rakuten, and some pebbles I found lying around.
ソイルを入れて、石とフィギュアをレイアウト
Adding Soil and Arranging the Stones and Figurine
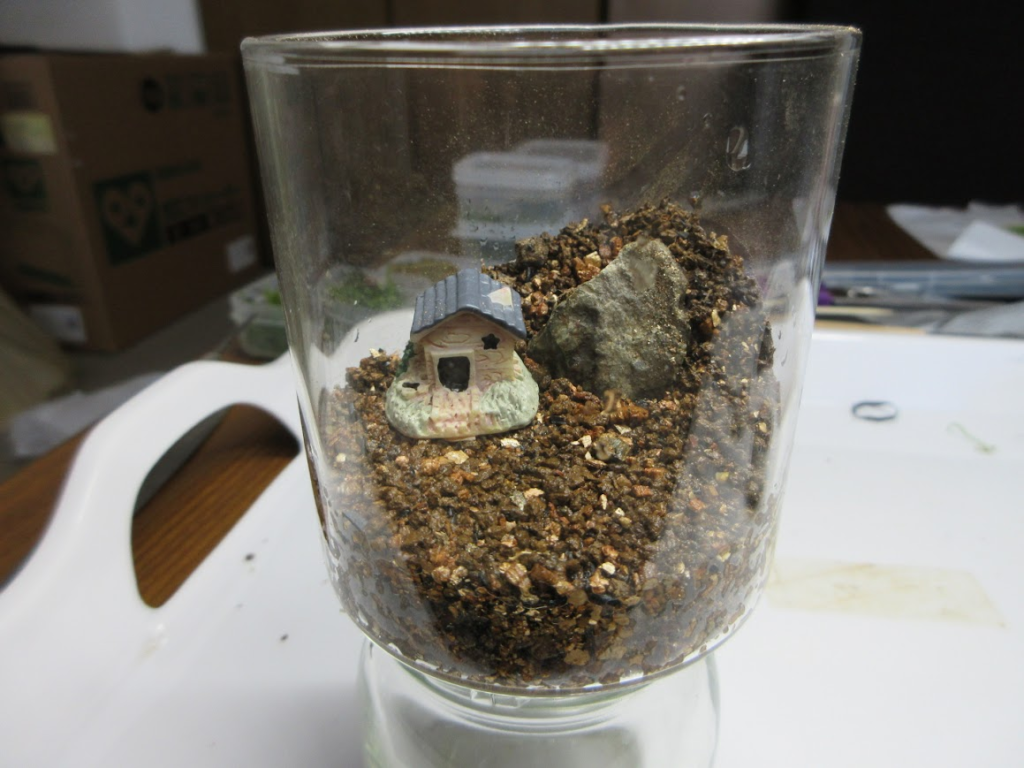
ソイルを入れて、石とフィギュアを配置。
家の裏側は少し山っぽくなるように、ソイルを斜めに盛っていきます。
最後に水を含ませて、しっかり固定します。
Add the soil, then arrange the stones and figurine. I mounded the soil at an angle behind the house to create a slight hill effect. Finally, add water to moisten everything and help it set firmly.
いよいよ苔の植え付け!アラハシラガゴケで芝生を表現
Time to Plant the Moss! Creating a Lawn Look with Araharshiragagoke
ここからは苔を植え付け作業です。
家の周辺を緑の芝生のように表現したいので、
「アラハシラガゴケ」を植え付けていきます。
Now it’s time to plant the moss! I want to create the look of a lush green lawn around the house, so I’ll be using “Araharshiragagoke” (a type of white-tipped mountain moss).
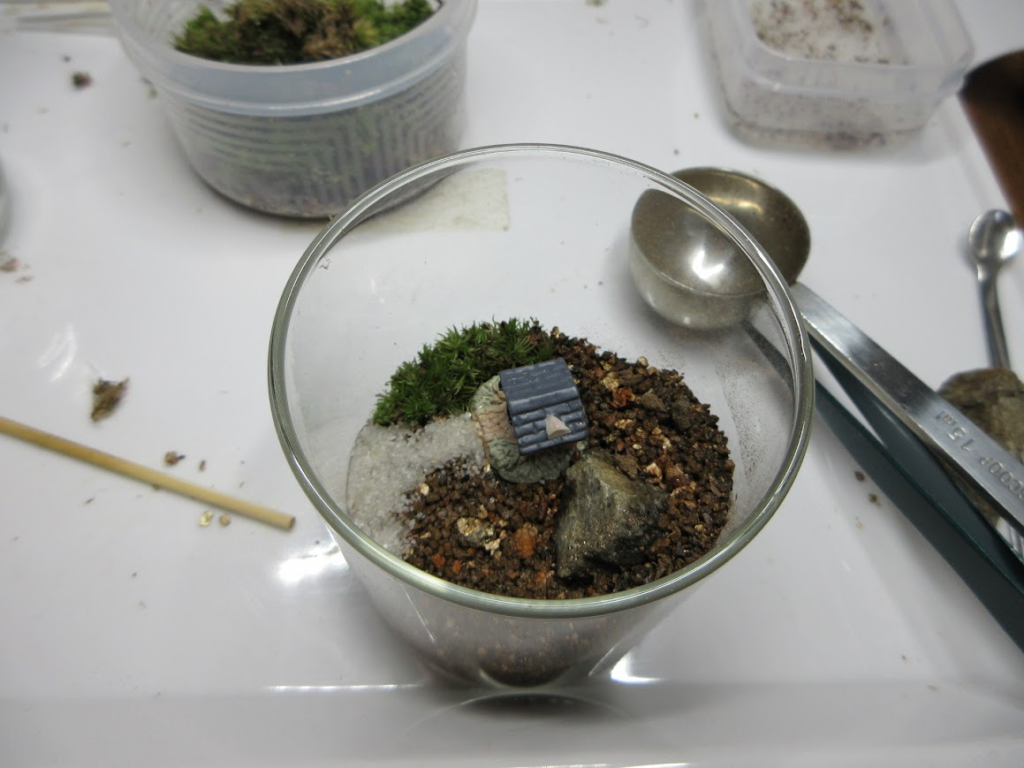
一株ずつ、丁寧に、コツコツと。
One by one, carefully and patiently.
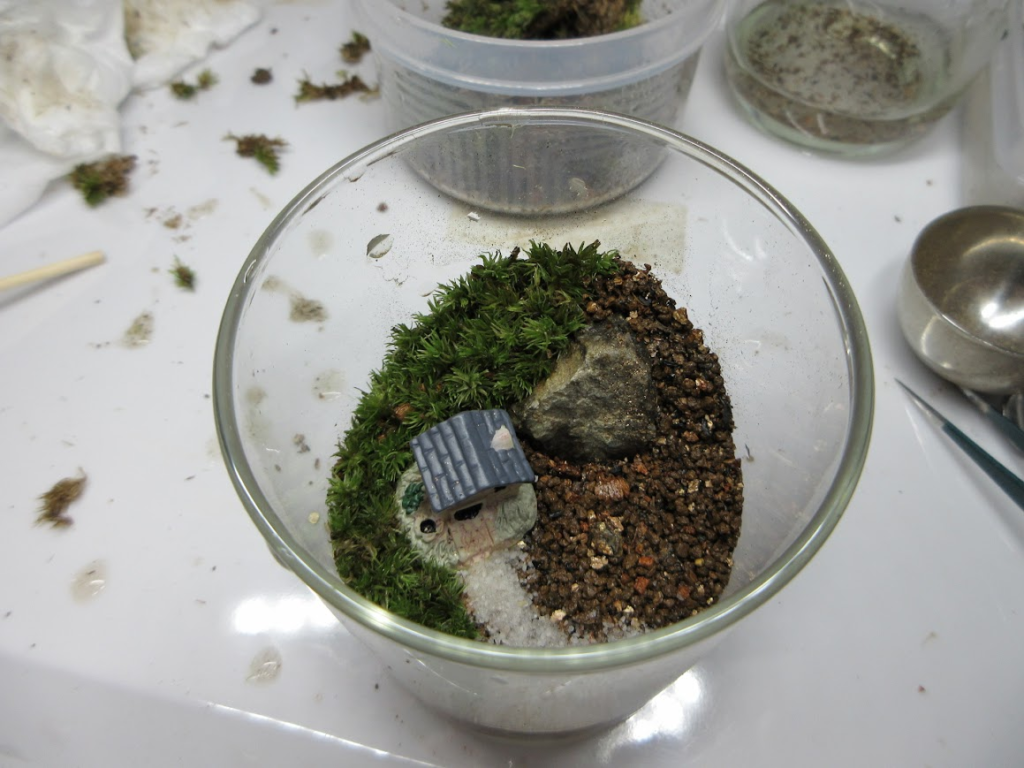
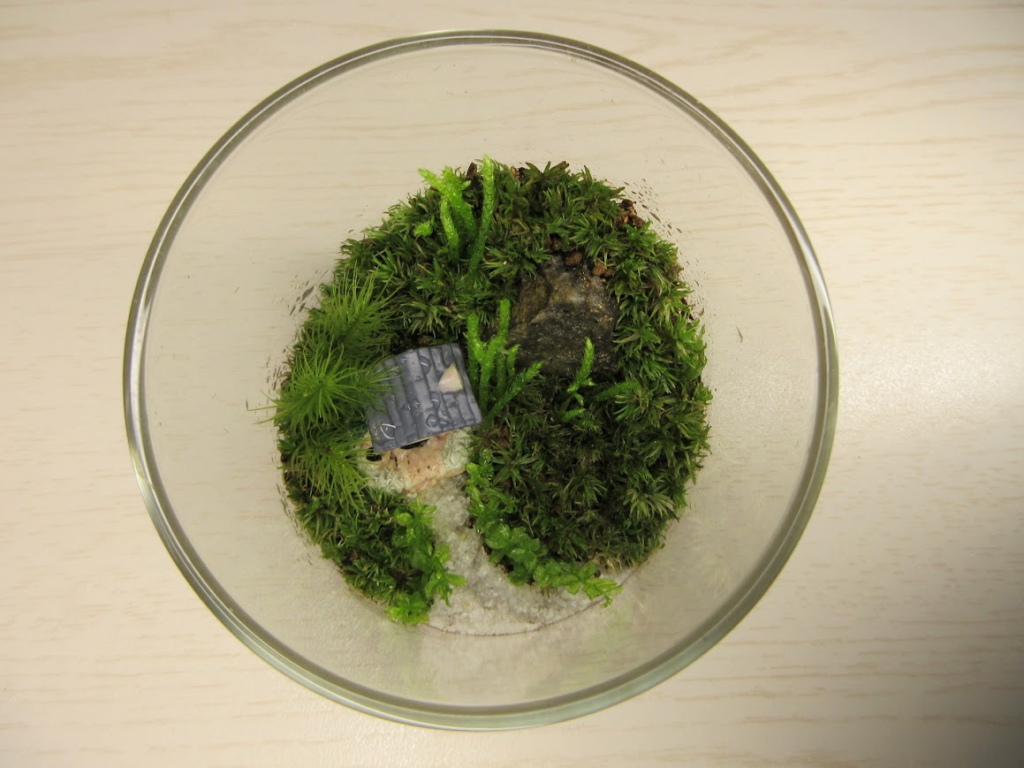
植え付け完了!上から眺めるとこんな感じ
Planting Complete! Here’s the View from Above
「アラハシラガゴケ」の植え付けが完了しました。
動画では「背の高い苔から植え付ける」と説明されていましたが、
今回はあえて背の低い苔から植えてみました。
The planting of “Araharshiragagoke” is complete! The video recommended starting with the taller moss first, but this time I decided to go my own way and start with the shorter moss instead.
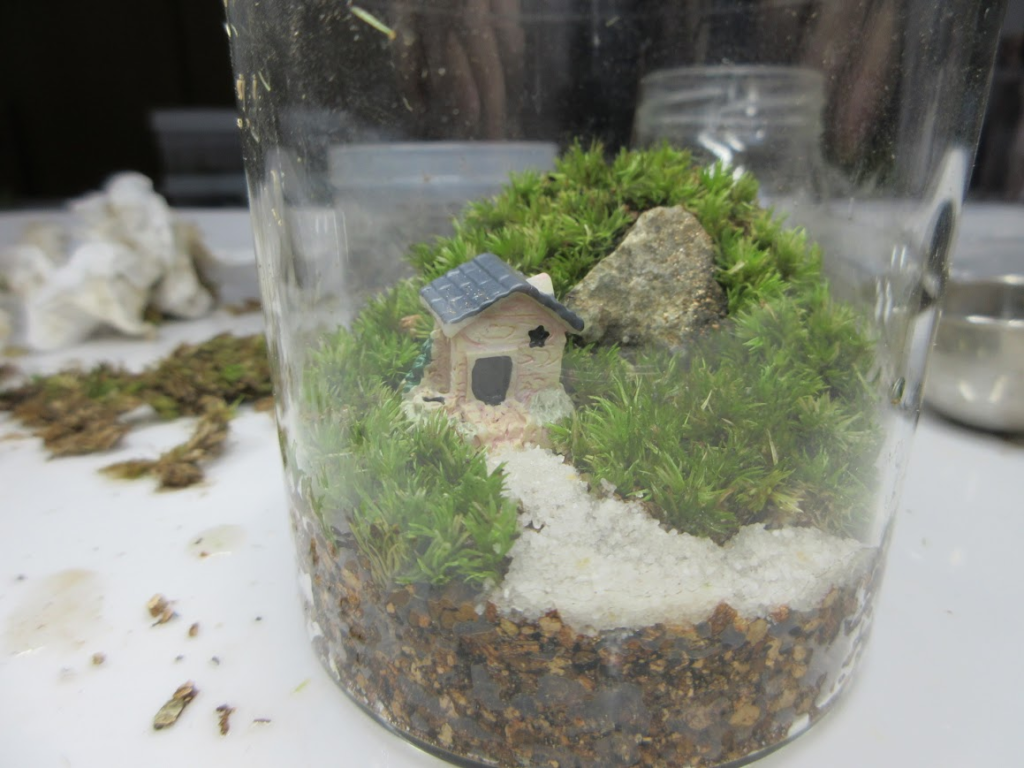
上から見ると、こんな感じです。
Here’s what it looks like from above.
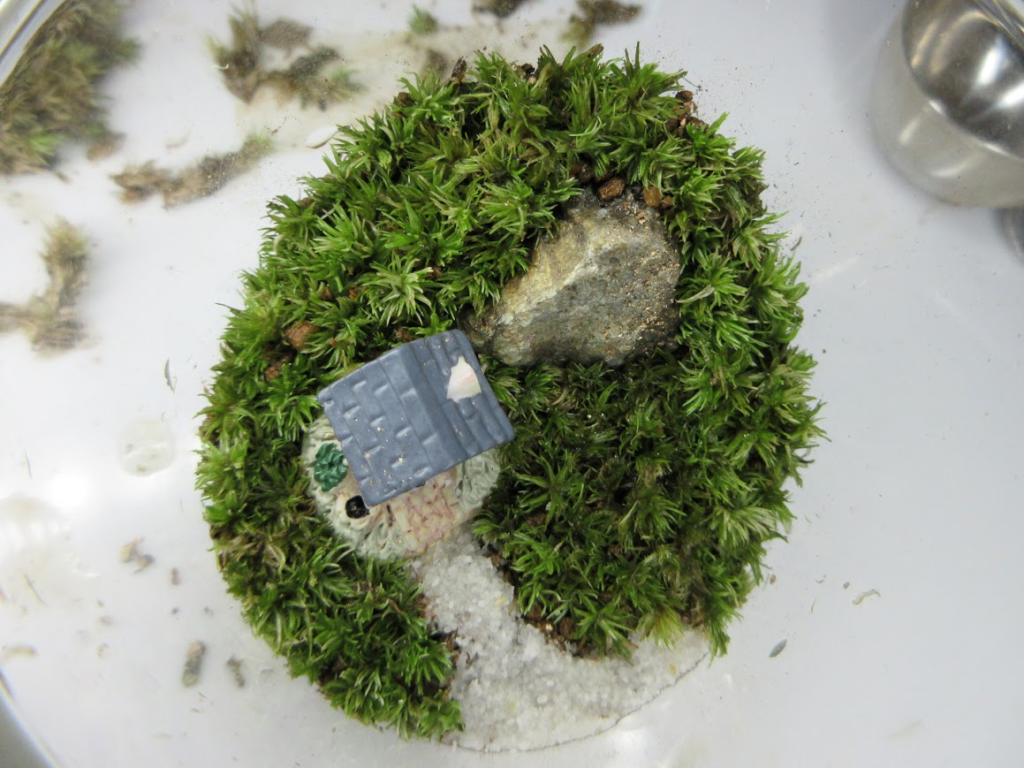
仕上げはオリジナルアレンジ!ヒノキゴケとコツボゴケを添えて
Final Touches with My Own Flair — Adding Hinoki Moss and Kotsubo-goke
背の高い苔を植え付けて完成です。
ここからはオリジナル要素。
家の周りに「ヒノキゴケ」、「ネズミノオゴケ」
道の端に「コツボゴケ」を添えてみました。
With the taller moss planted, the base is complete. Now for my own personal touches — I added “Hinoki-goke” and “Nezuminoo-goke” around the house, and “Kotsubo-goke” along the edges of the path.
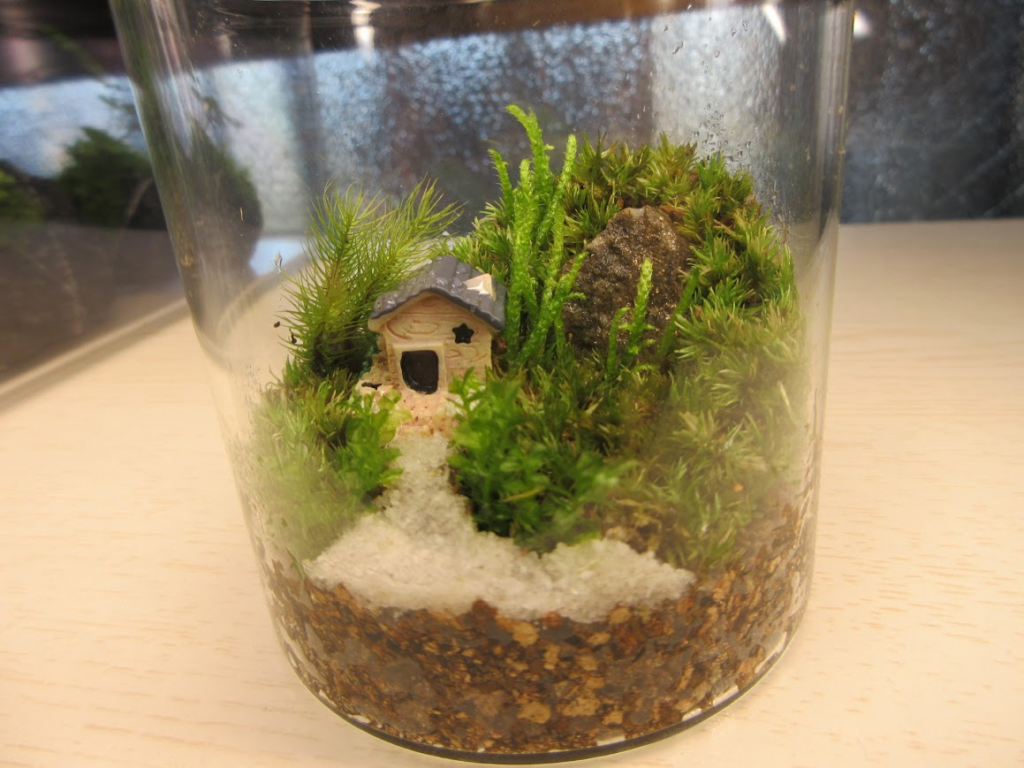
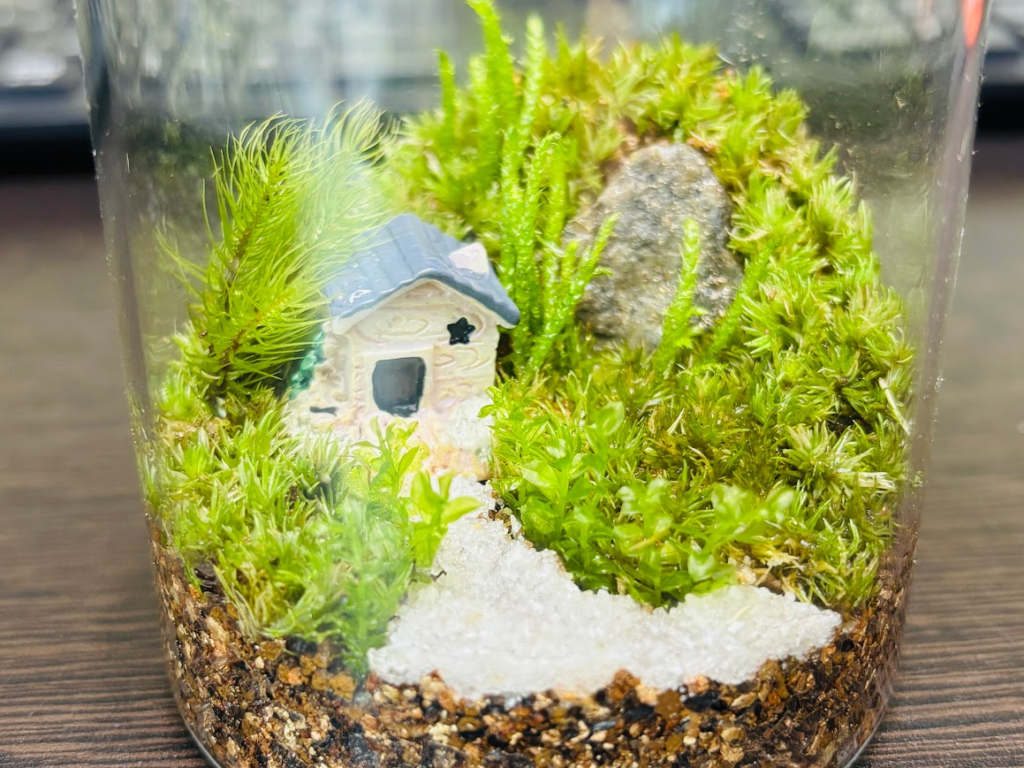
完成!パソコンの横に置いて、仕事中の小さな癒しに
Complete! A Tiny Green Escape Beside My Computer
完成したテラリウムはいつも作業しているパソコンの横へ。
仕事中、ふと視線を横にずらすと、そこに緑がある。
たったそれだけで、ちょっと気持ちがゆるむんですよね。
The finished terrarium now sits right beside my computer where I work. During the day, when I shift my gaze to the side, there’s a little patch of green waiting for me. Something that small is enough to make you feel just a little more at ease.
まとめ:1時間で作れる!苔テラリウムは思ったよりずっと楽しい
Summary: Done in an Hour! Moss Terrariums Are Way More Fun Than You’d Think
といことで今回は、苔テラリウムを作ってみました。
「超初心者向け」とある通り、作業時間は約1時間
材料も手軽にそろうので、思った以上にハードルは低めです。
でも完成してみると・・・
小さな世界を自分の手で作った感覚があって、ちょっと癖になります(笑)
気になった方は、ぜひ一度チャレンジしてみてください。
そしてこれからも、
「カキクケ苔」では苔の魅力や育成の様子を発信していきます。
ゆるく育つ苔の世界を一緒に楽しんでもらえたら嬉しいです。
So that’s the moss terrarium I made this time! True to its “total beginner” label, the whole process took about an hour, and the materials are easy to find — so the barrier to entry is lower than you might expect. But once it’s done… there’s something special about having created a tiny little world with your own hands. It’s kind of addictive (lol). If you’re curious, I encourage you to give it a try! And going forward, “Kakikukekoke” will keep sharing the charms of moss and updates on how it grows. I’d love for you to enjoy the slow, gentle world of moss right alongside me.