今日は溶岩石とシダ植物を使ったテラリウム作りです。
溶岩石の黒いボディに苔とシダの緑がマッチングして生命力のある大地となります。
Today we’re making a terrarium using lava rocks and ferns. The black body of the lava rocks, combined with the green of the moss and ferns, creates a vibrant and lifelike landscape.
今回、使う溶岩石です。
This is the lava rock we’ll be using this time.
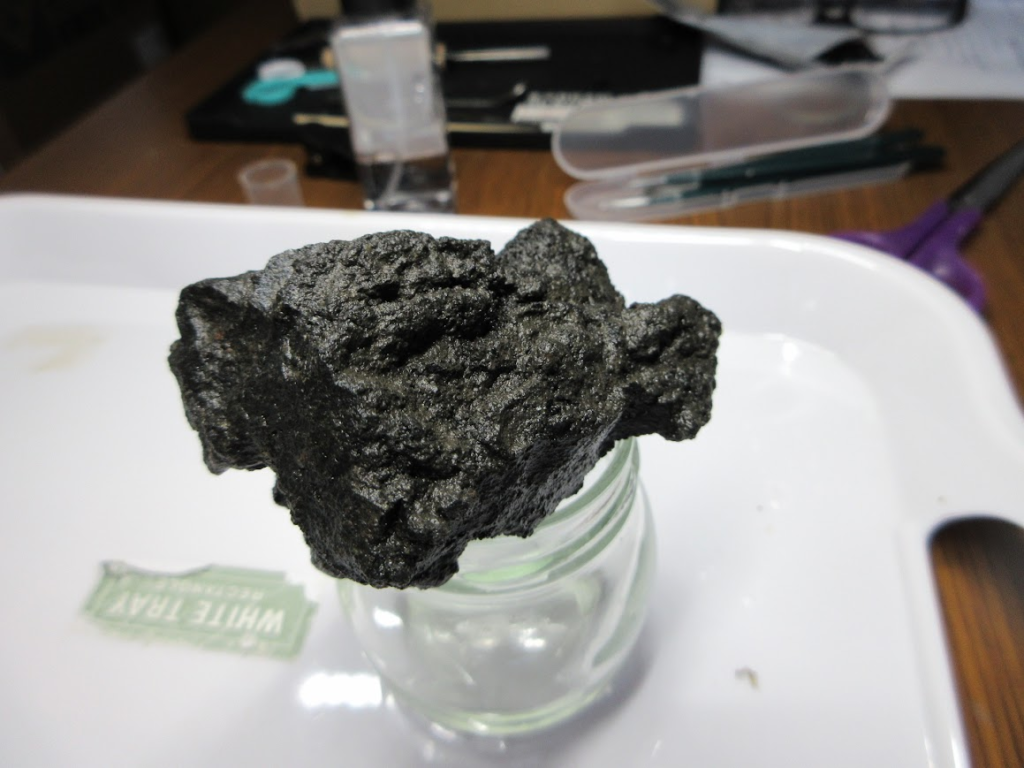
溶岩石はあらかじめ水に数分間浸けておいて水分をたっぷりと含ませておきます。
Soak the lava rock in water for a few minutes beforehand to let it absorb plenty of moisture.
シダを溶岩石に固定する
Step 1: Attaching the Fern to the Lava Rock
シダを溶岩石に固定します。
固定の仕方はシダの根を溶岩石に這わせて、ヘアゴムを2本ほど使用してとめます。
We’ll attach the fern to the lava rock. Spread the fern’s roots across the surface of the rock and secure them using two hair ties.
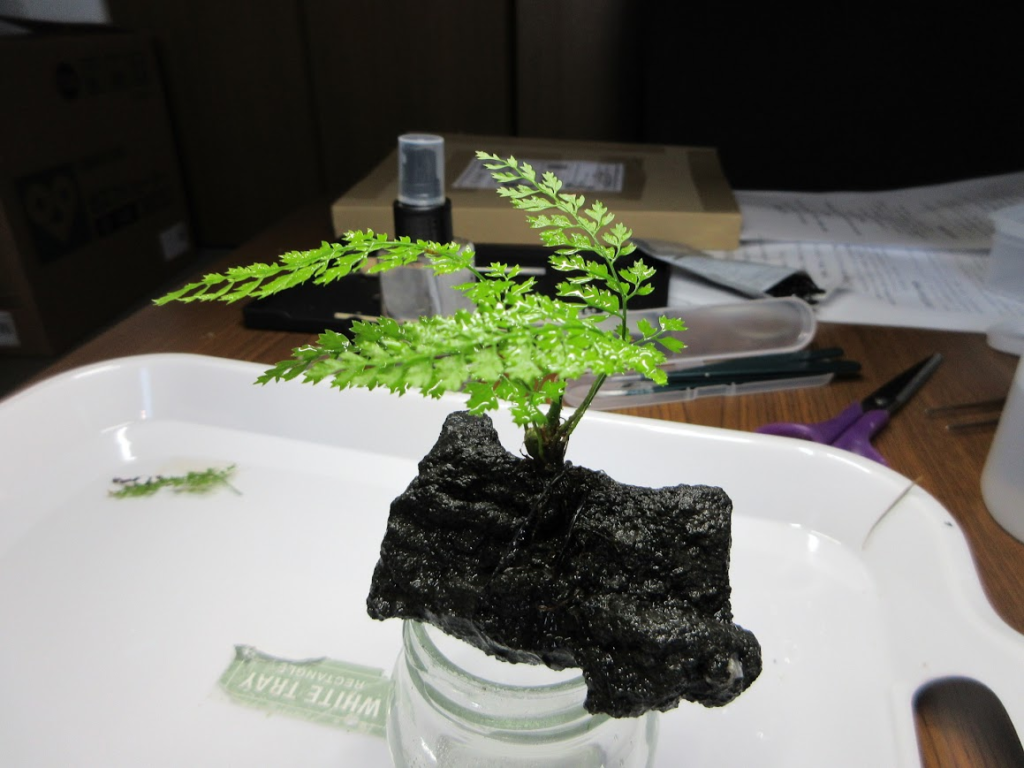
作業台に小瓶を使用しています。
小瓶の口が溶岩石と接点が小さくて割と安定すんですよね~
I’m using a small bottle as a work stand. The narrow opening provides a small but surprisingly stable contact point with the lava rock!
ホソバオキナゴケを植え付けていく
Planting Hosoba-Okina-goke (Mountain Moss)
苔をシダの根から植え付けていきます。
植え付けている苔は山苔の種類でもある「ホソバオキナゴケ」です。
Now we’ll start planting moss from the base of the fern’s roots. The moss being used is “Hosoba-Okina-goke,” a type of mountain moss.
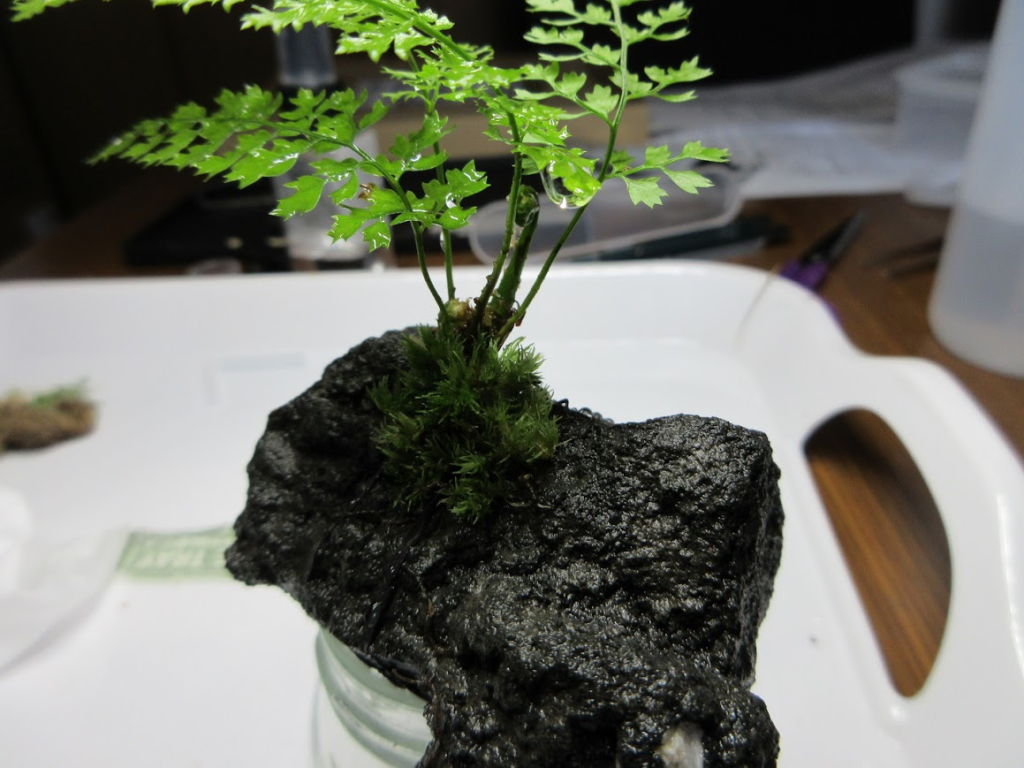
画像が暗くてよく見えないですね💦
申し訳ない。。。
The image is a bit dark and hard to see 💦 So sorry about that…
コツコツと苔を植え付ける地味な作業
The Patient, Steady Work of Planting Moss
だいぶ、苔が植わってきました。
しかし、植えるというか、乗せるという表現の方が正しいかも。
The moss is really filling in nicely! Though “planting” might be generous — “placing” is probably the more accurate word.
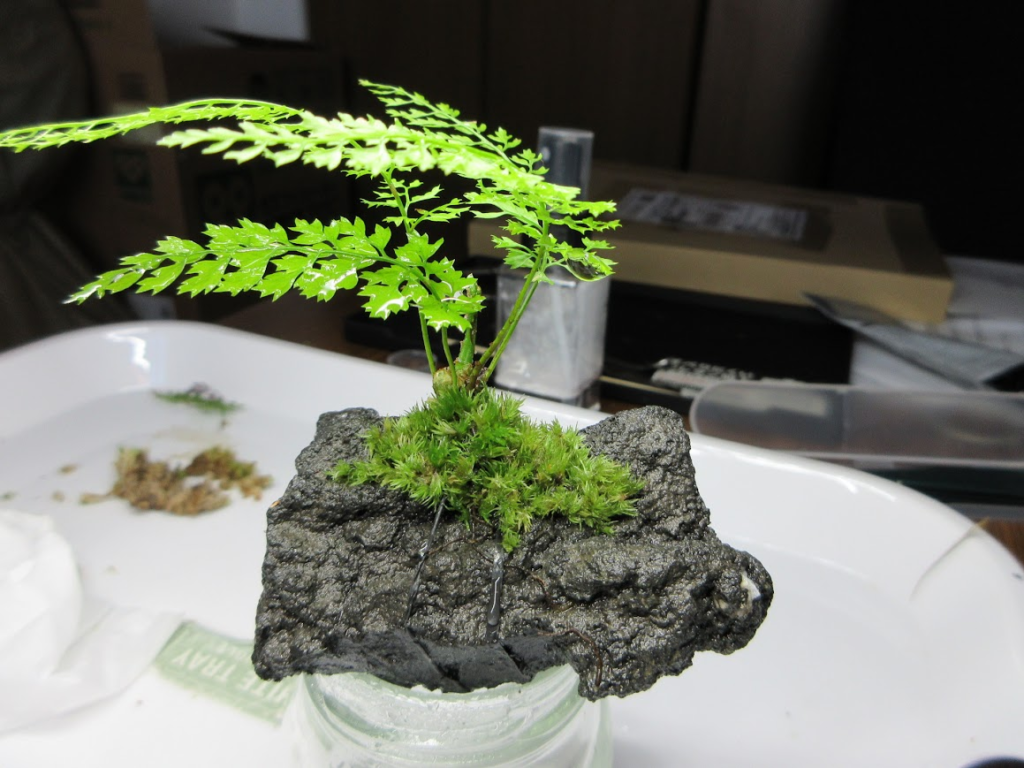
一株一株、少しづつ苔を植え付けていく作業はものすごく地味です(笑)
Placing the moss piece by piece, little by little — it’s incredibly painstaking work (lol).
反対側にも苔を植え付けます
Planting Moss on the Other Side Too
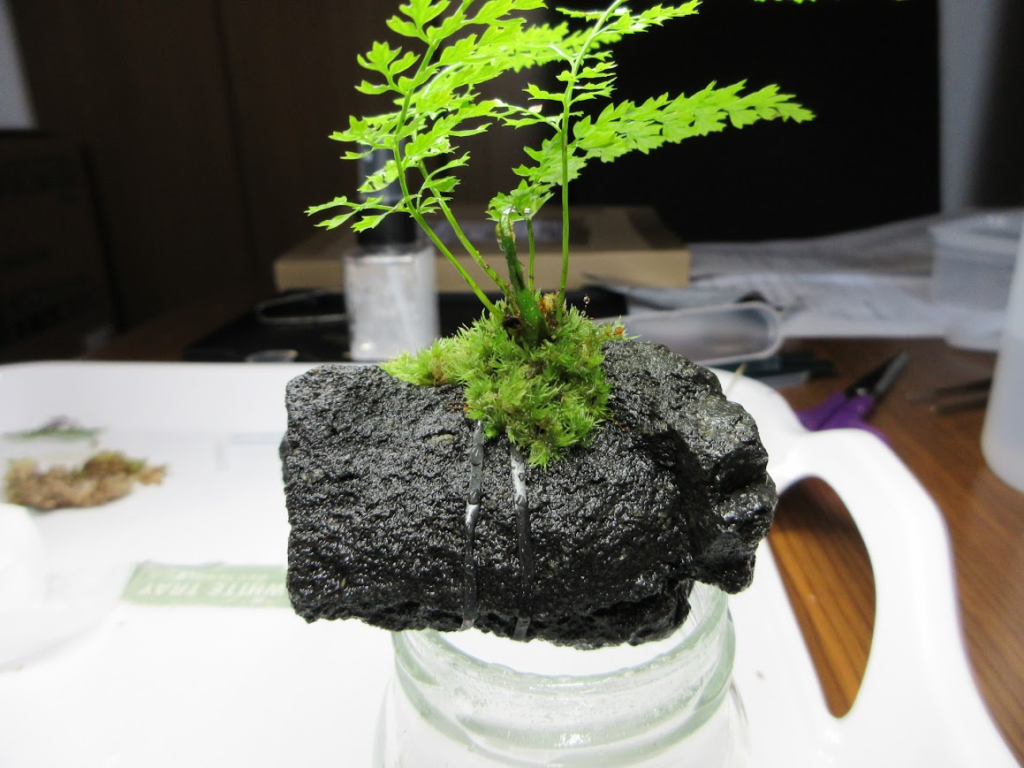
こちらは反対側になります。
反対にも苔を植え付けていきます。
This is the other side of the rock. We’ll be planting moss on this side as well.
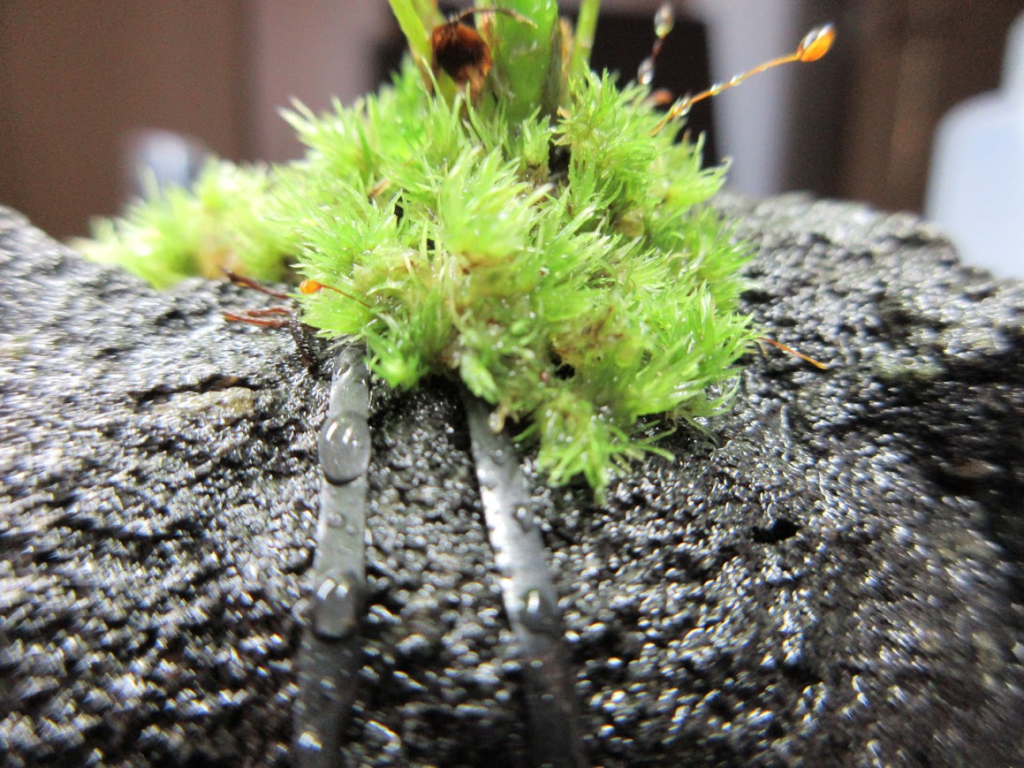
拡大するとこんな感じ。
時折、スプレーで水を吹いて接着剤の代わりにします。
Here’s a close-up view. Occasionally misting with a spray bottle helps hold the moss in place, acting as a natural adhesive.
アゼゴケとコツボゴケをアクセントに追加
Adding Aze-goke and Kotsubo-goke as Accent Touches
ワンポイントとして、「ホソバオキナゴケ」の上に「アゼゴケ」を植え付けます。
As an accent touch, we’ll add some “Aze-goke” on top of the “Hosoba-Okina-goke.”
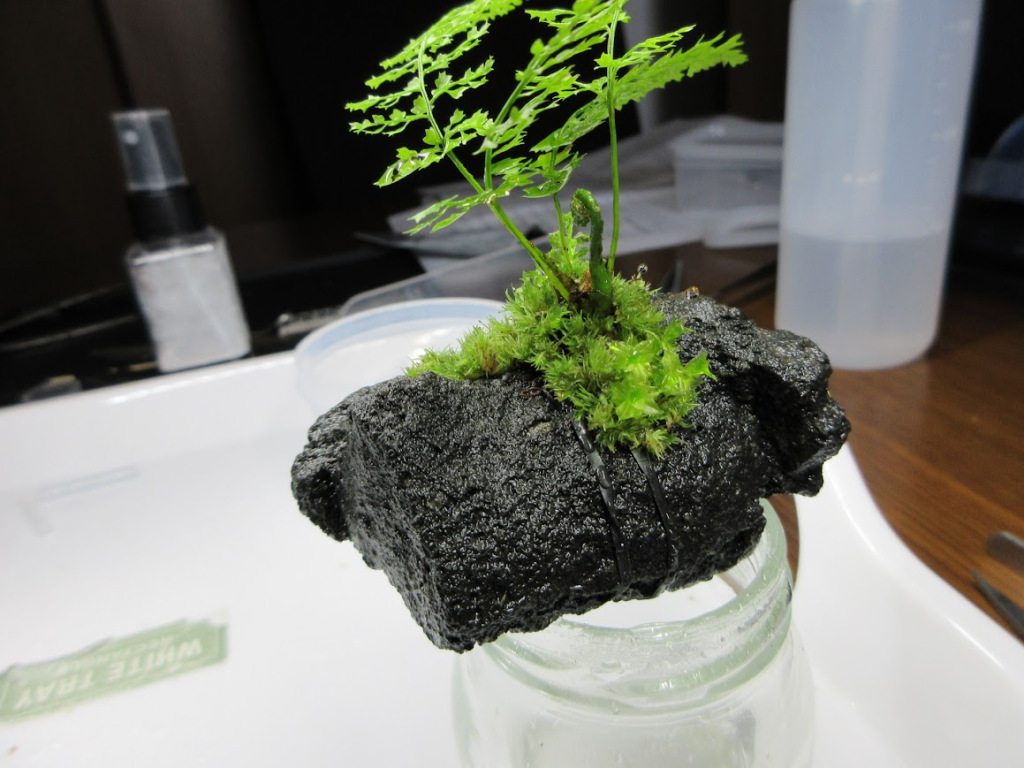
自然界では苔と苔の共存が当たりまですからね!
After all, different mosses growing together is perfectly natural in the wild!
こちら正面には「コツボゴケ」をアクセントとして植え付けました。
On the front side, I added “Kotsubo-goke” as an accent.
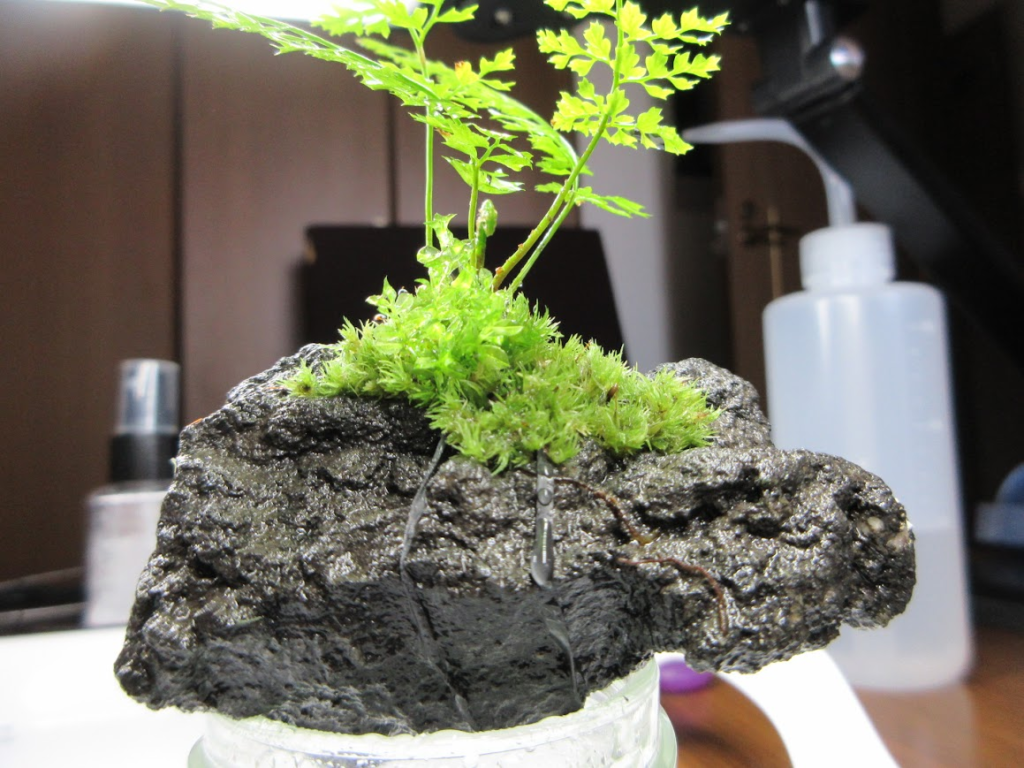
「コツボゴケ」は透明感があってとても綺麗です。
“Kotsubo-goke” has a beautiful translucent quality — it’s really lovely.
最後はタマゴケで仕上げ!
Final Touch: Finishing with Tama-goke (Apple Moss)
最後に「タマゴケ」を植え付けて完成です。
Finally, we add “Tama-goke” (Apple Moss) to finish it off!
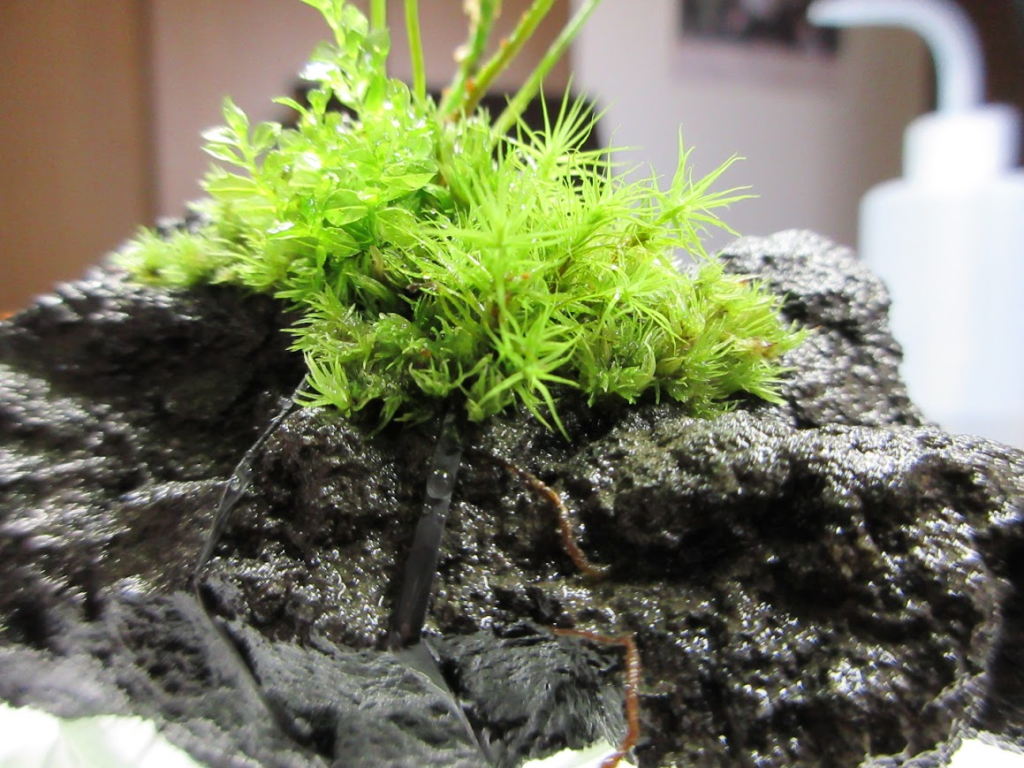
「タマゴケ」はテラリウムでは大人気なんですよね。
「タマゴケ」だけのテラリウムも素敵です。
“Tama-goke” is incredibly popular in terrariums. A terrarium made entirely of Tama-goke would be stunning too!
テラリウム完成!着生するまで大切に育てよう
Terrarium Complete! Care for It Gently Until It Takes Root
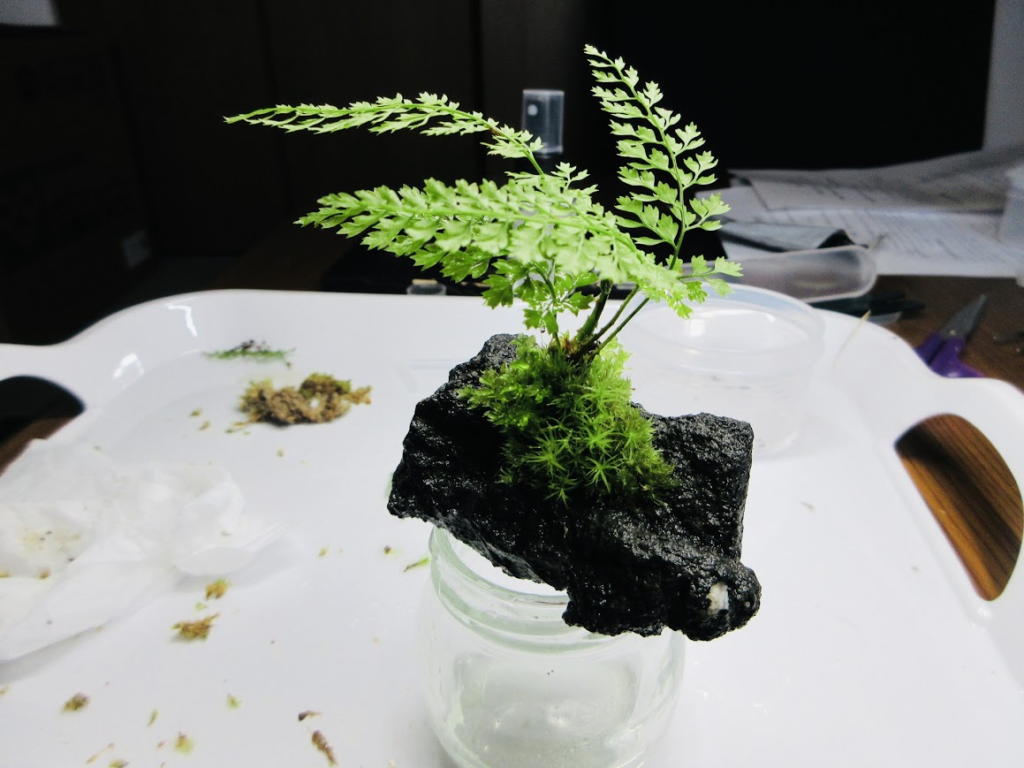
今回、作ったテラリウムですが、シダと苔が溶岩石に着生するまでに2か月ほど時間がかかります。
それまでは、大切にそっと育ててあげる必要があるんですよね~
この子、誰が欲しい人いるかな?
This terrarium will take about 2 months for the ferns and moss to properly attach to the lava rock. Until then, it needs to be cared for gently and with love. Anyone out there who’d like to give this little one a home?